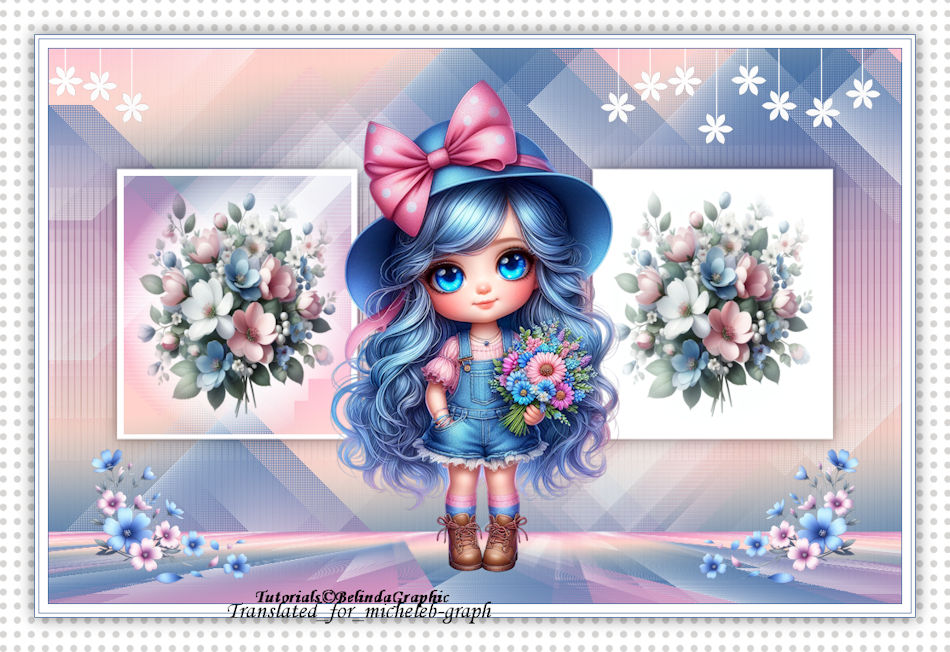
  My personal version – thank you, Virginia for her flowers and womanly hits, and to Silvie for the blue flowers. 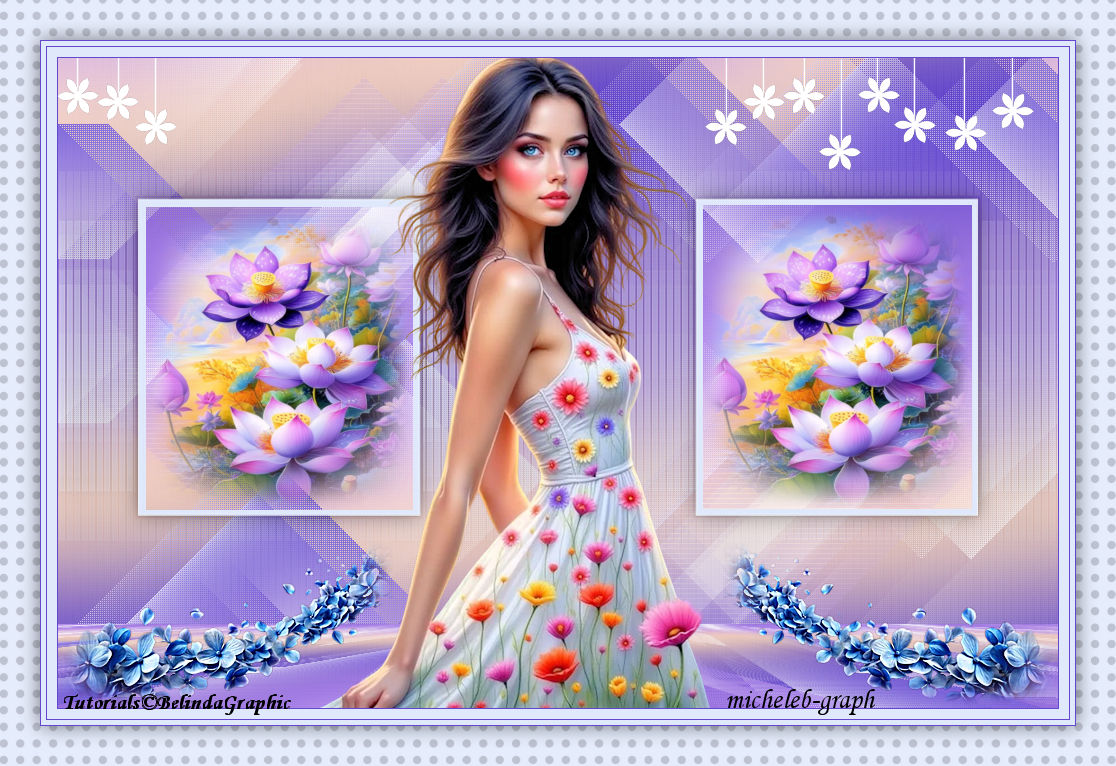 Thank you Belinda for allowing me to translate your tutorials into English.  Original tutorial HERE  Material 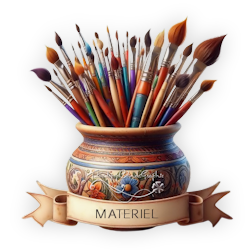 The mask is from Narah HERE The rest of the material belongs to me and is reserved for the use of this tutorial. Place the pattern included in the material, in the "MOTIFS" folder of your PSP. filters used Mehdi - Wavy Lab 1.1 Bkg Designers sf10 II - Diamonds L&K's - Katharina Toadies - What are You ? Carolaine & Sensibility - CS Texture MuRa's Meister - Perspective Tiling Colors  Foreground: #4a72a6 Background: #f3a0c6 1 Open the Alpha - Spring Sessions Layer file. Effects > External modules<Medhi<Wavy lab 1.1 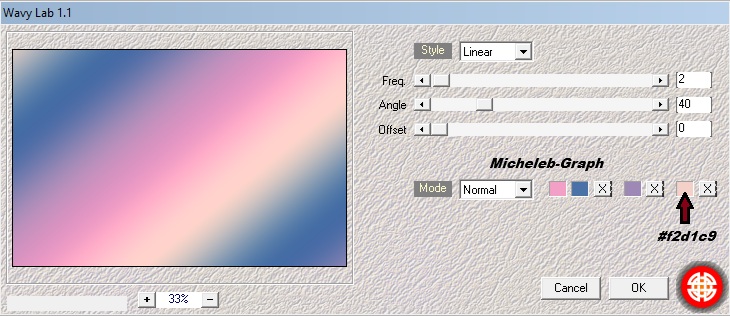 2 Effects > Texture effects < Textile. 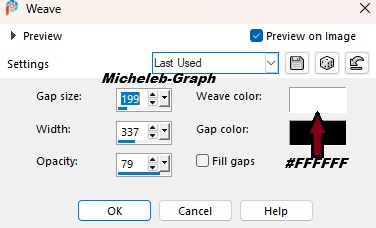 Layers > Duplicate. 3 Effets > Modules externes < BKG Designers sfII<Diamonds.  4 Effects < Image effects > Seamless mosaic.  5 Effects > External modules < L in K’s<Katharina.  6 Take down the Deco-1 layer. Edition > Copier. Edition > Paste as new layer. It is in place. Effects > External modules<Toadies<What are you?  7 Effects > External modules < Carolaine & Sensibility> CS Texture.  8 Layers > New raster layer. Fill the color layer 4 9 Take out the NarahsMasks_1524 mask. Layers > New mask layer<From an image.  Layers > Merge the group. Settings > Sharpness < Sharpness. Select Tool (K)  "M" to deselect 10 Effects > 3D Effects < Drop Shadow 0 0 50 30 of color #000000  Selections > Load/Save a selection<From a can Alpha<Load the selection#1.  11. Selections <Edit > Contract.  Edition > Couper. Layers > New raster layer. Take down the flowers layer 1 -SpringSessions—BG. Edition <Copy. Edition > Paste into selection. Layers > Duplicate. Selections > Select none 12 Repeat the same operation with selection#2. Keep the first three layers open, close the others.  Layers > Merge visible layers. Layers > Duplicate. 13 Effects < External modules > Mura’s meister>Tiling perspective.  Open closed layers. 14 Take down the flowers—BG. Edition > Copy layer. Edition > Paste as new layer. Select Tool (K). 15 Take down the Tube-Spring<BG. Edition <Copier layer. Edition > Paste as new layer. Image > Resize this layer to 60% - All UNCHECKED layers 16 Take down the layer flours 2 -SpringSessions—BG. Image > Mirror < Horizontal Mirror. Edition<Copy. Edition > paste as a new layer. Image > Resize this layer to 50% - All UNCHECKED layers Select Tool (K).  17 Layers > Duplicate. Image < Mirror > Horizontal mirror. 18 Image - add borders - 1 px - color 1 Image - add borders - 10 px - color 4 Image -add borders - 1 px - color 1 Image - add borders - 5 px- color 4 Image - add borders - 1 px - color 1 Image - add borders - 40 px - color 4 19 Magic wand tool > Zero tolerance < Select the border. Set the paint can tool like this 20 Place the "Large Dots" pattern in the foreground. Pour the pattern into the border. Selections > Invert. Effects < 3D effects > Drop shadow<0 0 50 30 of color #000000. Selections > Select none 21 Add your signature on a new layer. Add Belinda’s signature Add my signature Translation Micheleb-Graph Layers > Merge all (Flatten). Image > Resize to 950 pixels wide. File > Save as JPEG. Your creation is complete You can send it to me by email if you wish  INDEX  Ce(tte) œuvre est mise à disposition selon les termes de la Licence Creative Commons Attribution - Pas d’Utilisation Commerciale - Pas de Modification 3.0 France. |