Lesson original by Eugenia Clo created on april 12, 2025
©Eugenia-Clo 2016/28 – all rights reserved


This lesson is the exclusive work of Eugenia Clo,
all resemblance to another existing on the net would be pure coincidence.
This translation was made with Psp2020 on april 13, 2025 but it can be done with other versions of Psp tubes are part of exchanges with graphic groups.
![]()
Matérial :

Woman2866byClo
Bottoni-byClo
sharlimarMask8
text-byClo
selection1byClo
watermark Clo ©Creation
watermark Translation micheleb-graph
![]()
Filters :
Alien Skin Eye Candy 5 - Nature
Adjust : Variations
Alien Skin Eye Candy 5 - Impact
Filter Factory Gallery J
Graphics Plus
![]()
Install filters you don't have in the corresponding folder before you open your Psp.
Open your tubes in Psp, duplicate them and close the originals,
don't forget not to save regularly, an untilmely closure of Psp is always to be expected.
![]()
1
Palette of styles and textures
Foreground : #CCDFE6
Background : #3D5764
Make a radial gradient
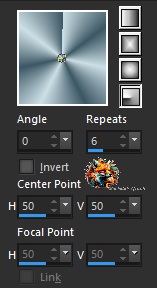
2
Open a new transparent image : 1000 x 800 px
to fill with gradient
adjust - blur - gaussian blur : 4
3
Layers - new layer
filtrers - Alien Skin Eye Candy 5 - Nature : Ripples
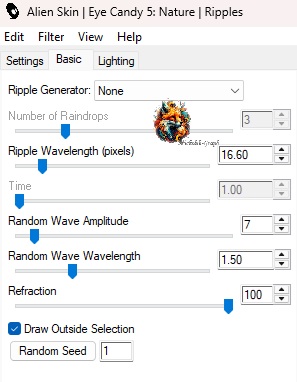
Blend mode : Luminance (Legacy)
4
Layers - new layer
To fill with prominent color
Layers - from disk - load sharlimarMask8
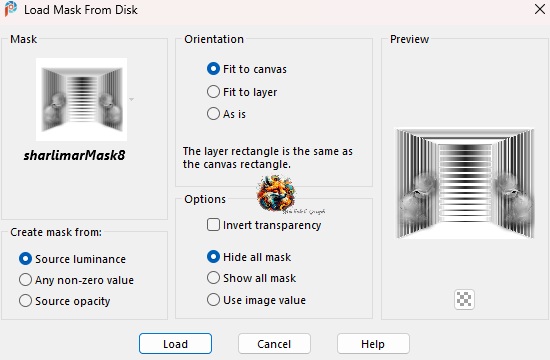
Layers - merge - merge group
Adjus - sharpness - sharpen
5
Filters - adjust - variations
Midtones
1 click sur Original
2 click sur Darker
Effects - 3D - drop shadow : #3C5764
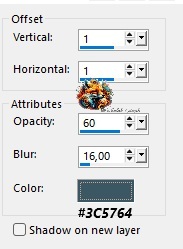
Edit - Repeat drop shadow
6
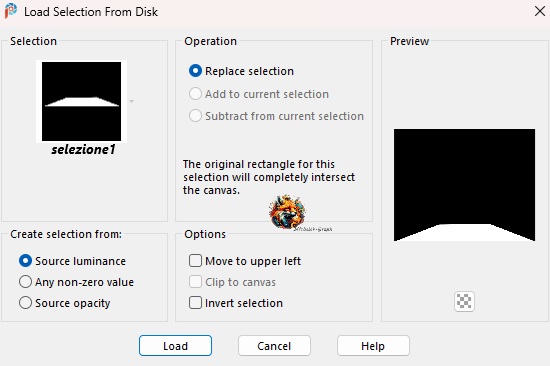
Selections - from the disc - selezione1byClo
Layers - new layer
To fill with the linear gradient
7
Filters- Alien Skin Eye Candy 5 - Impact : Gradient Glow
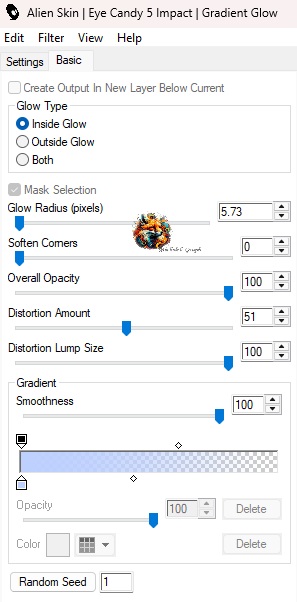
Selections - select none
8
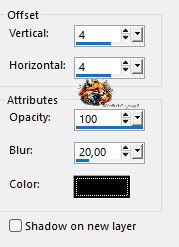
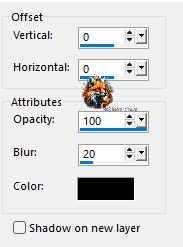
Effects - 3D - drop shadow : black
9
Open the "woman" hit
Copy and paste as new layer
10
Image - resize to 70%
*All layers NOT checked*
Adjust - sharpeness - sharpen
11
Filters - filter factory gallery J : Twister

12
Layers - duplicate
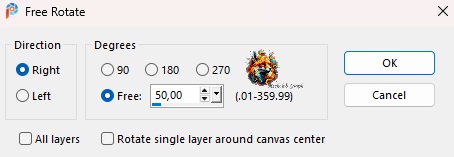
Image - free rotation
Layers - merge - merge down
13
Image - mirror - vertical mirror
Adjust - sharpness - sharpen more
Opacity of the layer to 52%
Position (K on your Keyboard)
![]()
Press "M" to deactivate
Rename this layer : Twist
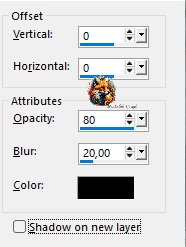
Effects - 3D - drop shadow
14
Edit - paste as new layer
*image is still in memory*
Image - resize to 70%
*all layers NOT checked*
15
Adjust - sharpeness - sharpen
Position (K on your keyboard)
![]()
Press "M" to deactivate
Effects - 3D - drop shadow
*as above*
16
Layers - merge - merge down
Layers - duplicate
Layers - rearrange - move down
Image - resize to 75%
*All layers NOT checked*
17
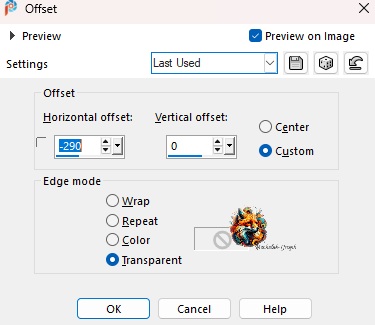
Effects - Image effects - offset
18
Layers - duplicate
Image - mirror - horizontal mirror
Layers - merge - merge down
Opacity of the layer at 30%
19
Open "bottoni_byClo"
Copy and paste as new layer
Position (K on your keyboard)
![]()
Press "M" to deactivate
Mode of fusion : Luminance
20
Open "testo_byClo"
Copy and paste as new layer
Position as on the final image
Mode of fusion : Luminance
Filters - MuRa's Seamless : Emboss at Alpha
*default*
Effects - 3D - drop shadow
*as above*
21
Image - add borders
1 px - Foreground color
3 px - Background color
1 px- Foreground color
3 px - Background color
15 px - Foreground color
3 px - Background color
1 px - Foreground color
3 px - Background color
1 px - Foreground color
22
Select the 15 px border with your magic wand
To fill with Halo gradient

Adjust - blur - gaussian blur at 10
23
Filters - Graphics Plus : Cross Shadow
*default*
Filters - Simple - Top Left Mirror
24
Selections - select all
Selections - modify - contract : 32 px
Layers - new layer
Effects - 3D - cutout
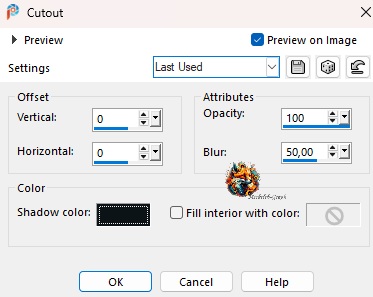
Edit - repeat cutout
Selections - select none
25
Add the watermark of Clo ©Creation
Add my watermark Translation micheleb-graph
Add your signature and/or watermark
Save as. Jpg.
![]()
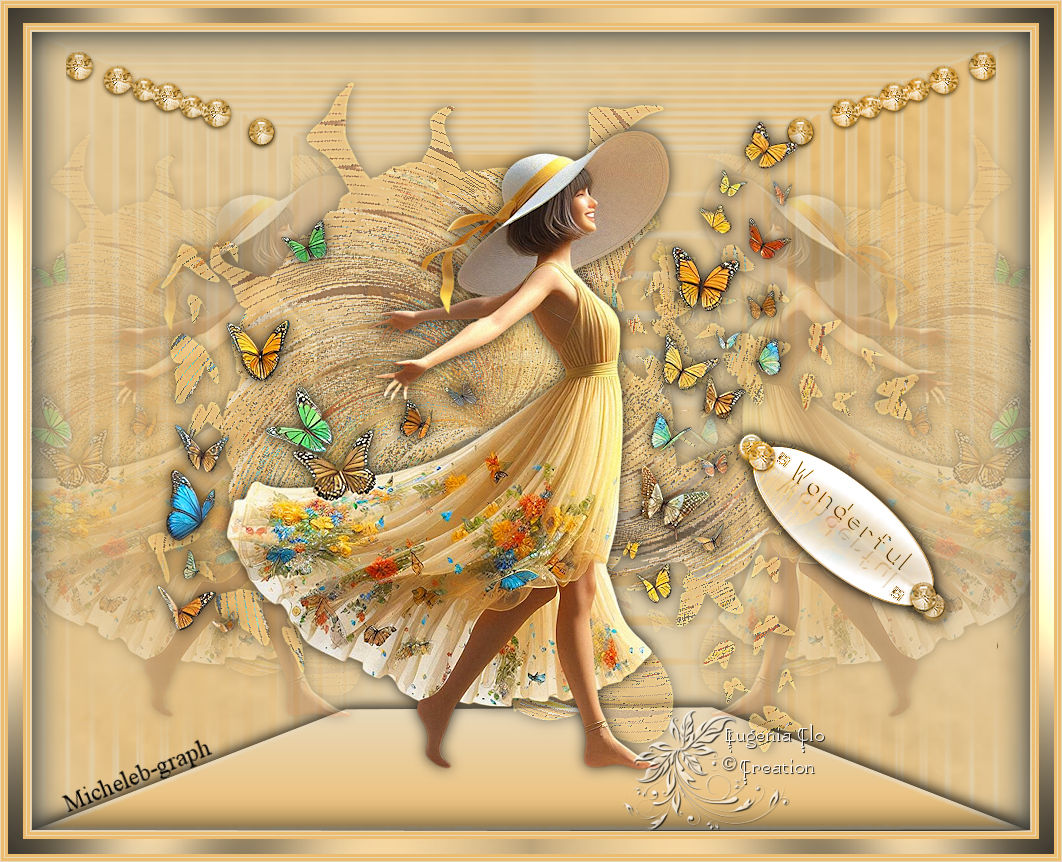
My version :
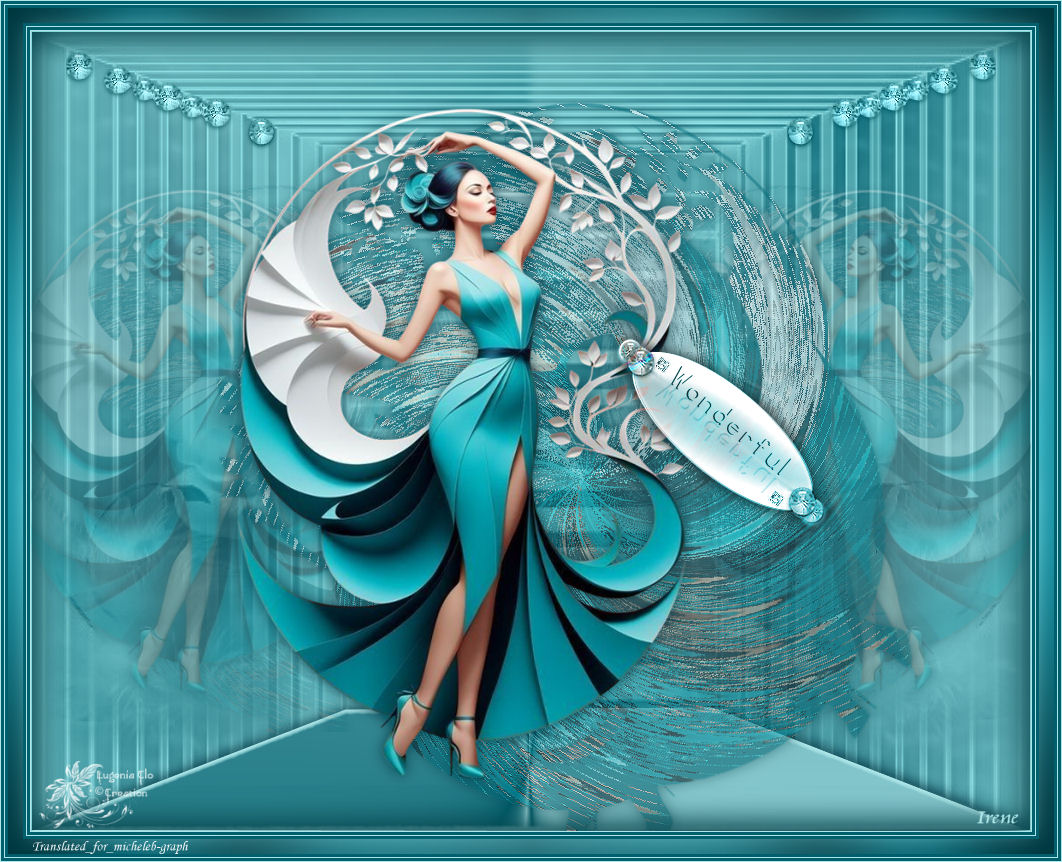
My tester's version :
Irène
![]()
Here is your image is completed
I hope she has told you liked
send me your creation by e-mail

I will be happy to see her put in gallery
Gallery Index

Ce(tte) œuvre est mise à disposition selon les termes de la Licence Creative Commons Attribution - Pas d’Utilisation Commerciale - Pas de Modification 3.0 France.