|
I thank GraphicMaryland for their permission to translate his tutorials into French.
Colours Foreground: #c5263d Background: #5e5166 No filters Hardware:
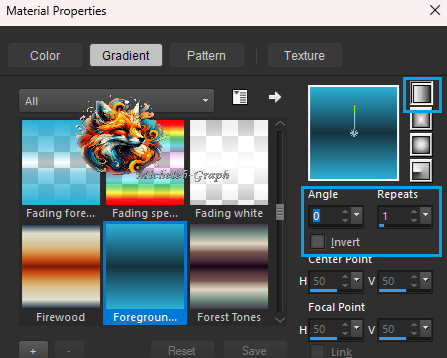
1 Open a new transparent 900 x 600 px image Make a linear gradient as follows:
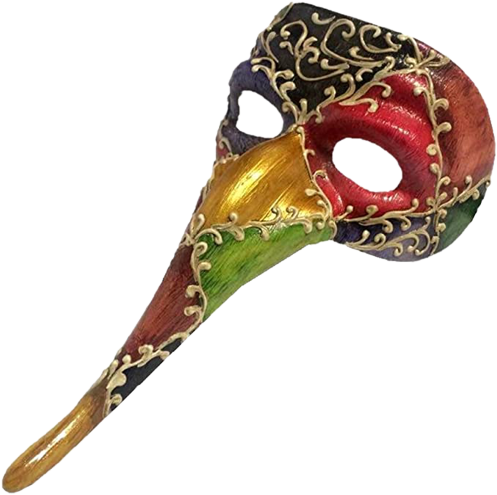
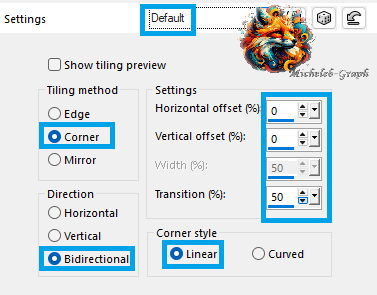
Open and copy mistedCarnevale con firma.png Paste as New Layer Seamless effects - picture effects - seamless mosaic as follows:
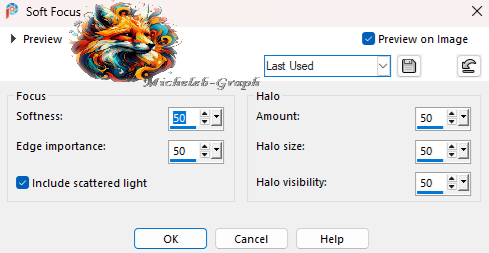
Adjustment - softness - soft focus as follows:
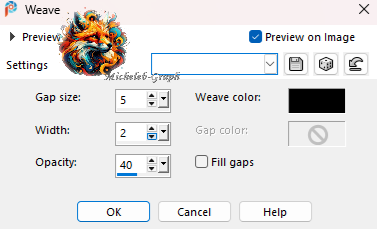
Effects - texture - textile as follows:
Adjusment - sharpness - sharpness 3 Paste as new layer the mistedcarneval *Always in memory* Open and copy the "stars" item Paste as New Layer Image - mirror - horizontal mirror Place at the top left Adjustment - sharpeness- sharpen more 4 Open and copy your tube Resize if necessary Paste as New Layer Place it wherever you want Layers - duplicate Layers - reorder - move down Layer Opacity: 46 5 Open and copy the "Clown with Balloons" item Paste as New Layer Layers - rearrange - place at the top of the stack Image - resize to your liking *see final image* 6 Open and copy "Jumping Clown" Paste as New Layer Image - resize to your liking Place on the left 7 Images - add borders 3 px - background colors 3 px - foreground colors 3 px - background colors 20 px - foreground colors Selections - select all Layers - new layer Selections - edit - contract of 20 px Selections - reverse Fill with the linear gradient Effects - 3D - Inner Bevel
Selections - select none 8 Add your signature/watermack Add well as the GraphicMaryland watermarck And mine Traduction Michèleb Layers - merge - merge all Image - resize - 900 px Save as. Jpg.
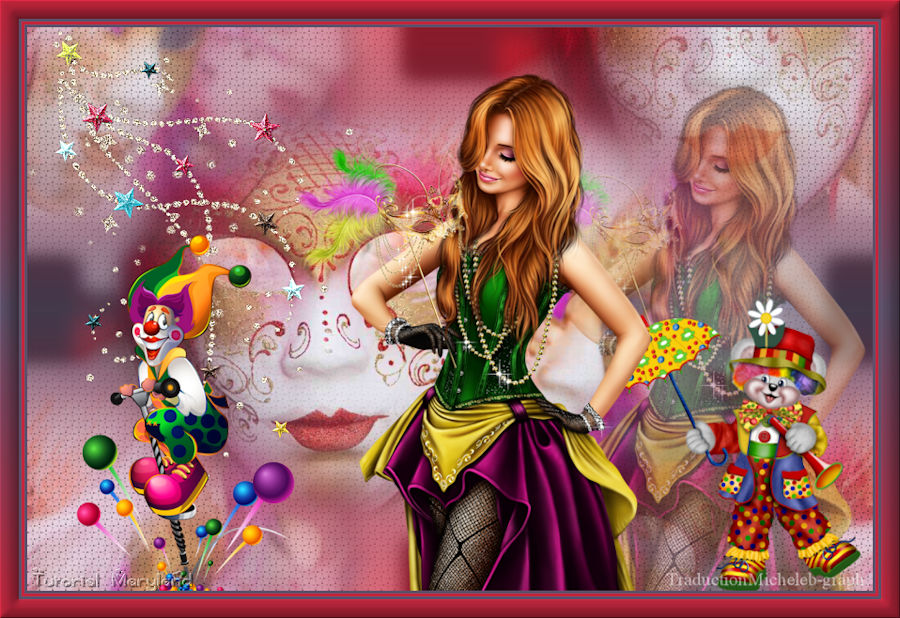
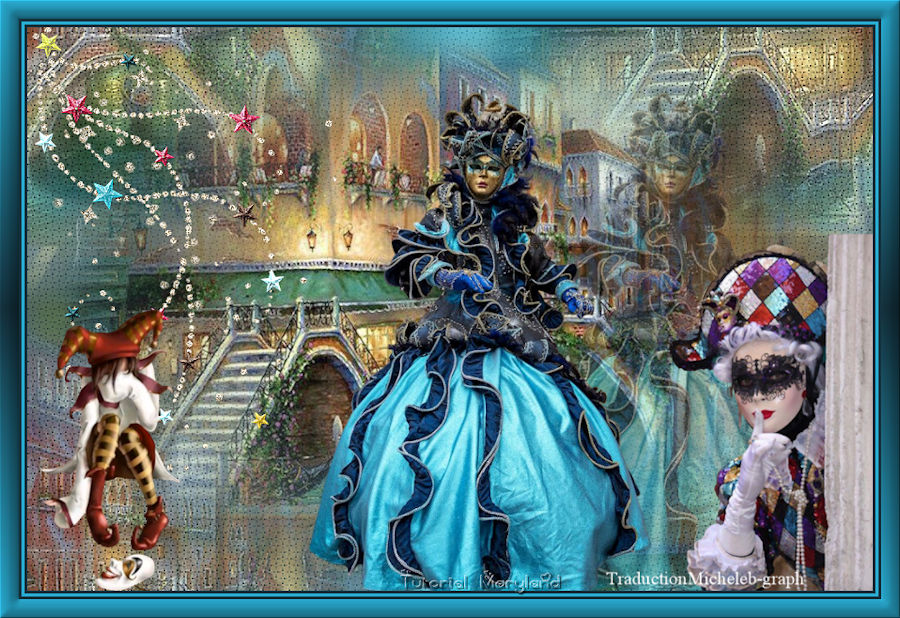
My version:
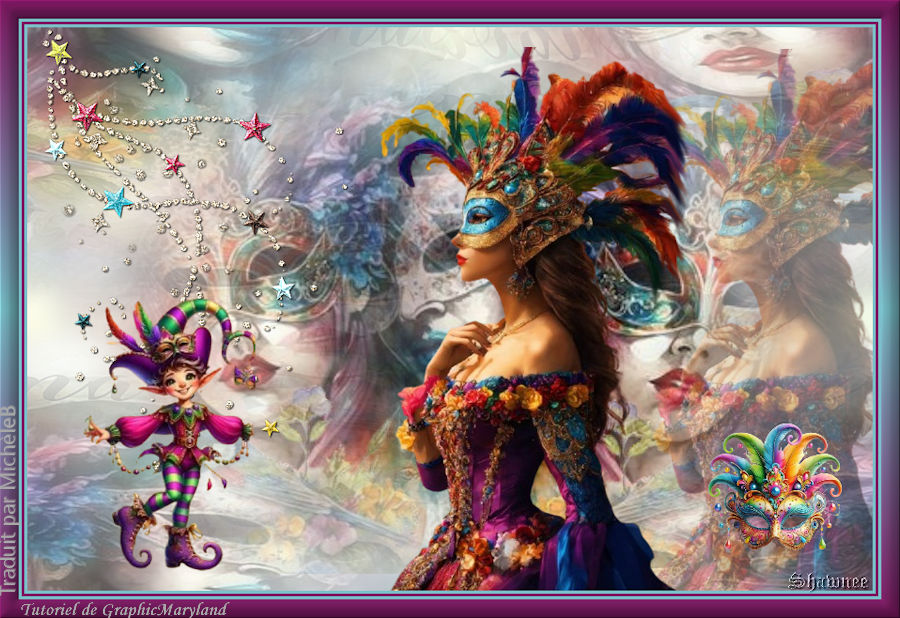
My tester's version Shawnee
Email me your version
I'll be happy to put it in the gallery
Gallery
|