  Character and landscape images found on Pinterest and personally tubed by  Thank you to NaiseM for allowing me to translate their tutorials into English. The link to the original lesson under the banner 
Thank you to Renée for allowing us to use her filters  1 Material palette 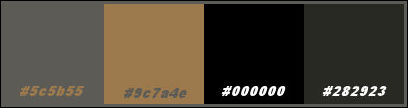 foreground color #5c5b55, background color #9c7a4e Create a linear gradient 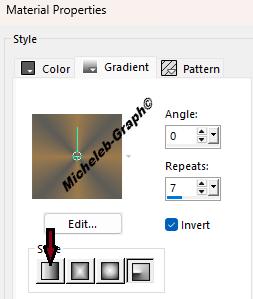 2 Open the alpha channel Window > Duplicate close the original Selections > Select All 3 Open Image Image > Rotation by degrees: 90° to the right Copy and paste into the selection  Image Effects > Unique Pattern default Setting > Blur > Gaussian Blur: Radius 25.00  4 Selections > Load/save the selection > Load the selection from alpha channel load Selection#1  5 Selections > Increase selection to level 3D Effects > Drop Shadow: V&H: 0 - 86 - 20,19 - #000000 6 Layers - Duplicate Image - mirror - vertical mirror 7 Open the misted copy and paste as a new layer Objects > Align Left Or Position (K on your keyboard)  Press "M" to deactivate 8 Open the deco1 copy and paste as a new layer Position (K on your keyboard)  Press "M" to deactivate 9 Selections > Load/save the selection > Load the selection from alpha channel load Selection#2  Layers - New Raster Layer Open the misted again copy and paste into the selection 10 Effects > Plug-in > Alien Skin Eye Candy 5: Impact / Glass apply the Preset artes  11 Image - Add Borders 46 px white color Select the edge with the magic wand Fill in with the gradient Effects > Plug-in > Graphics Plus / Cross Shadow default 12 Rule > Add/remove noise > Add noise  13 Edge effects > Increase Selections > Reverse 3D effects > Drop shadow V&H: 0 - 100 - 65.12 - #000000 14 Open the DECO2 copy and paste as a new level Position (K on your keyboard)  Press "M" to deactivate 15 Open the deco3 copy and paste as a new level Position (K on your keyboard)  Press "M" to deactivate 16 Open the title copy and paste as a new level Position (K on your keyboard)  Press "M" to deactivate 17 Open title 2 copy and paste as a new level Position (K on your keyboard)  Press "M" to deactivate 18 Open the deco4 copy and paste as a new level Position (K on your keyboard)  Press "M" to deactivate Levels > Duplicate Position (K on your keyboard)  Press "M" to deactivate Layers - merge - merge layer below 19 Layers > Duplicate Image - mirror - vertical mirror Layers - merge - merge layer below 20 Open the chosen tube (or that of the material) Copy and paste as a new level If it is necessary to resize it Positioned on the right Apply a shadow at will 21 Sign the work and apply NaiseM’s signature add my signature Translation Micheleb-Graph Levels > Merge All Image > Add Borders 6 px color #282923 Save as. Jpg. 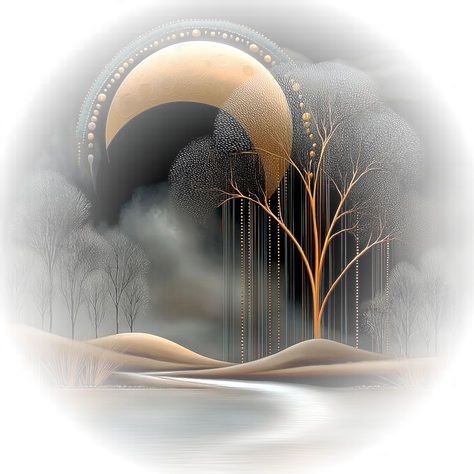 Your creation is complete Can you send it to me by email  INDEX  Ce(tte) œuvre est mise à disposition selon les termes de la Licence Creative Commons Attribution - Pas d’Utilisation Commerciale - Pas de Modification 3.0 France. |
